How to Waterproof Your Basement: A Complete Step-by-Step Guide
Reading time: 18 minutes
Water in your basement isn’t just an inconvenience — it’s a slow-motion disaster. Every drop that seeps through your foundation walls chips away at your home’s structural integrity, invites mold, and quietly deflates your property value. If you’ve ever walked downstairs to find a damp smell, water stains, or — worst case — standing water after a heavy rain, you already know the sinking feeling that comes with it.
Here’s the straight talk: basement waterproofing isn’t optional for most homeowners — it’s a foundational investment. According to the American Society of Home Inspectors, more than 60% of U.S. homes experience basement moisture problems. In 2026, with increasingly volatile weather patterns pushing record precipitation across the Midwest, Northeast, and Pacific Northwest, that number is trending upward.
But here’s the good news: waterproofing your basement is absolutely manageable when you break it into strategic steps. Whether you’re a weekend DIYer or someone evaluating contractor quotes, this guide gives you the full picture — no fluff, no oversimplification.
Table of Contents
- Understanding Basement Water Problems
- Assessing Your Specific Situation
- Interior Waterproofing Methods
- Exterior Waterproofing Methods
- Drainage Systems & Sump Pumps
- DIY vs. Professional Waterproofing
- Cost Breakdown & ROI Analysis
- Frequently Asked Questions
- Your Dry Basement Action Plan
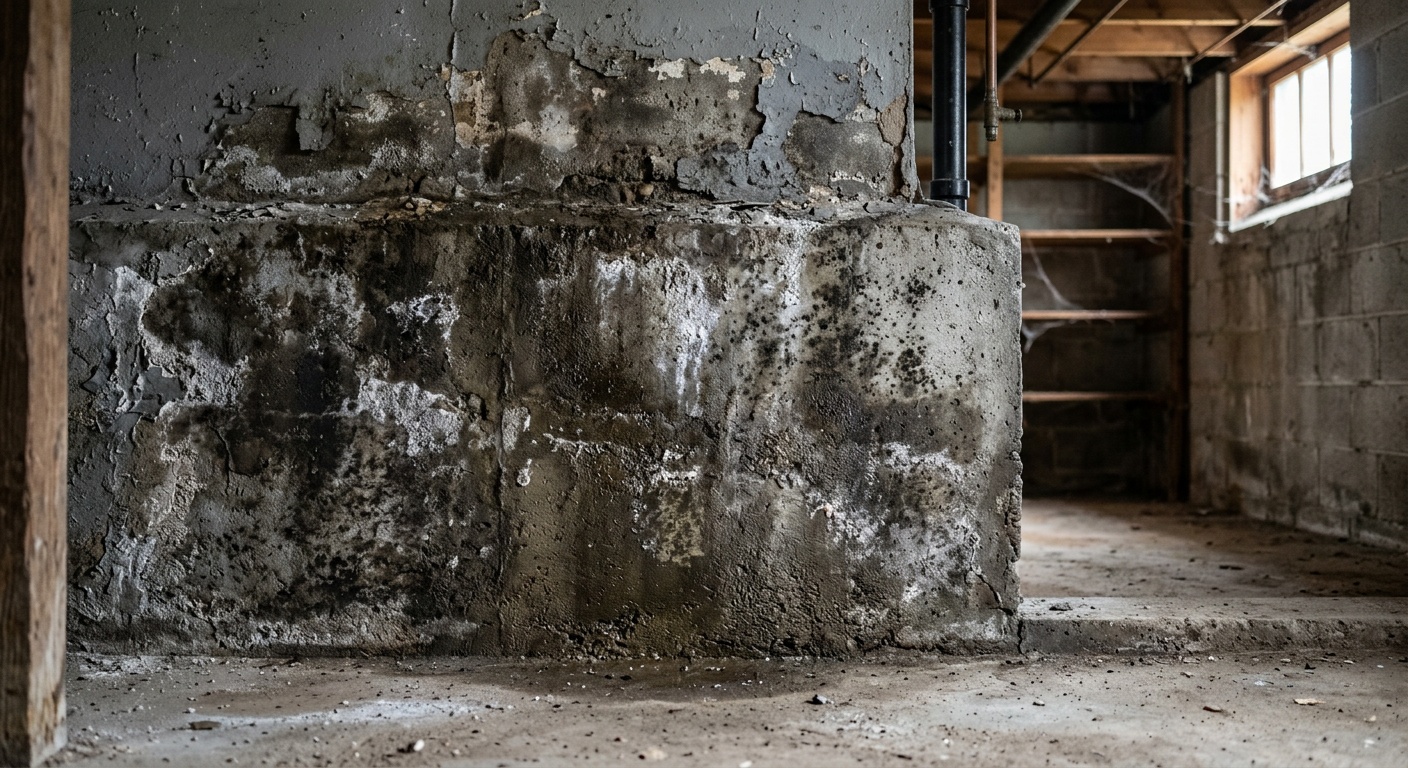
Understanding Basement Water Problems
Before you can fix a water problem, you need to understand what’s actually happening. Basement moisture enters your home in three primary ways, and each requires a different solution. Treating the wrong source is one of the most common — and expensive — mistakes homeowners make.
The Three Sources of Basement Moisture
1. Water Infiltration (Liquid Water Entry)
This is the most obvious culprit: water physically entering through cracks, gaps around pipes, window wells, or poorly sealed joints. After a heavy rainstorm in 2025, homeowner Marcus T. from Columbus, Ohio discovered two inches of water on his basement floor. After a professional assessment, the source was traced to a single hairline crack in the poured concrete wall — barely visible to the naked eye — through which hydrostatic pressure had forced gallons of groundwater.
2. Capillary Suction (Wicking)
Concrete and masonry are naturally porous. Even without visible cracks, water molecules can travel through microscopic pores via capillary action. This is why basement walls often feel perpetually damp even when you can’t see where water is entering.
3. Condensation
Sometimes what looks like a leak is actually condensation — warm, humid air hitting cooler basement surfaces and depositing moisture. This is especially common in summer months. A quick diagnostic test: tape a piece of plastic sheeting flat against your wall for 24 hours. If moisture collects on the outside of the plastic (room-side), you have a condensation problem. If it’s on the inside (wall-side), you have water infiltration.
Why Basement Water Problems Are Getting Worse in 2026
Climate data from NOAA’s 2025 Annual Report confirmed that annual precipitation in the eastern United States increased by an average of 8.3% compared to 2010 baselines. Soil saturation periods are lasting longer, which means hydrostatic pressure — the force water exerts against your foundation — is building more frequently and more intensely than in previous decades. Homes built before 2000 were designed for different rainfall norms and are particularly vulnerable.
“We’re seeing basement flooding cases that homeowners never anticipated because their drainage infrastructure simply wasn’t designed for the precipitation intensity we’re experiencing now. Proactive waterproofing has shifted from a luxury to a necessity.” — Dr. Elena Vasquez, Structural Engineering Consultant, speaking at the 2025 National Home Builders Conference
Assessing Your Specific Situation
Think of this phase as your diagnostic roadmap. Rushing into solutions without proper assessment is like prescribing medication without a diagnosis. Take a systematic approach.
Step-by-Step Basement Assessment Process
Step 1: Document Everything — Walk your basement during and after the next rainfall event. Photograph water entry points, staining, efflorescence (white chalky deposits), and any visible cracks. Note the time lag between rainfall and when moisture appears.
Step 2: Map Your Cracks — Not all cracks are equal. Hairline cracks under 1/8 inch are common and often manageable. Horizontal cracks in block walls are serious warning signs of soil pressure and may indicate structural compromise. Stair-step cracks in block foundations suggest settlement. Vertical cracks in poured concrete often indicate shrinkage but can allow water entry.
Step 3: Check Your Exterior Grade — Walk the perimeter of your home. The ground should slope away from your foundation at a rate of at least 6 inches over the first 10 feet. If it slopes toward the house, you have an immediate, inexpensive fix available: regrading with compacted fill soil.
Step 4: Inspect Gutters and Downspouts — Clogged gutters overflow directly against your foundation. Downspouts should discharge at least 4-6 feet away from the house. Extensions are cheap. Basement repairs are not.
Step 5: Evaluate Your Sump Pit — If you have a sump pump, when did you last test it? Pour water into the pit and confirm it activates. Check the discharge line for clogs or freeze damage, a common issue in 2025-2026 winters across the Great Lakes region.
Interior Waterproofing Methods
Interior waterproofing doesn’t stop water from entering your foundation — but it manages water effectively once it does, routing it safely away before it causes damage. For many homeowners, this is the most practical and cost-effective first line of defense.
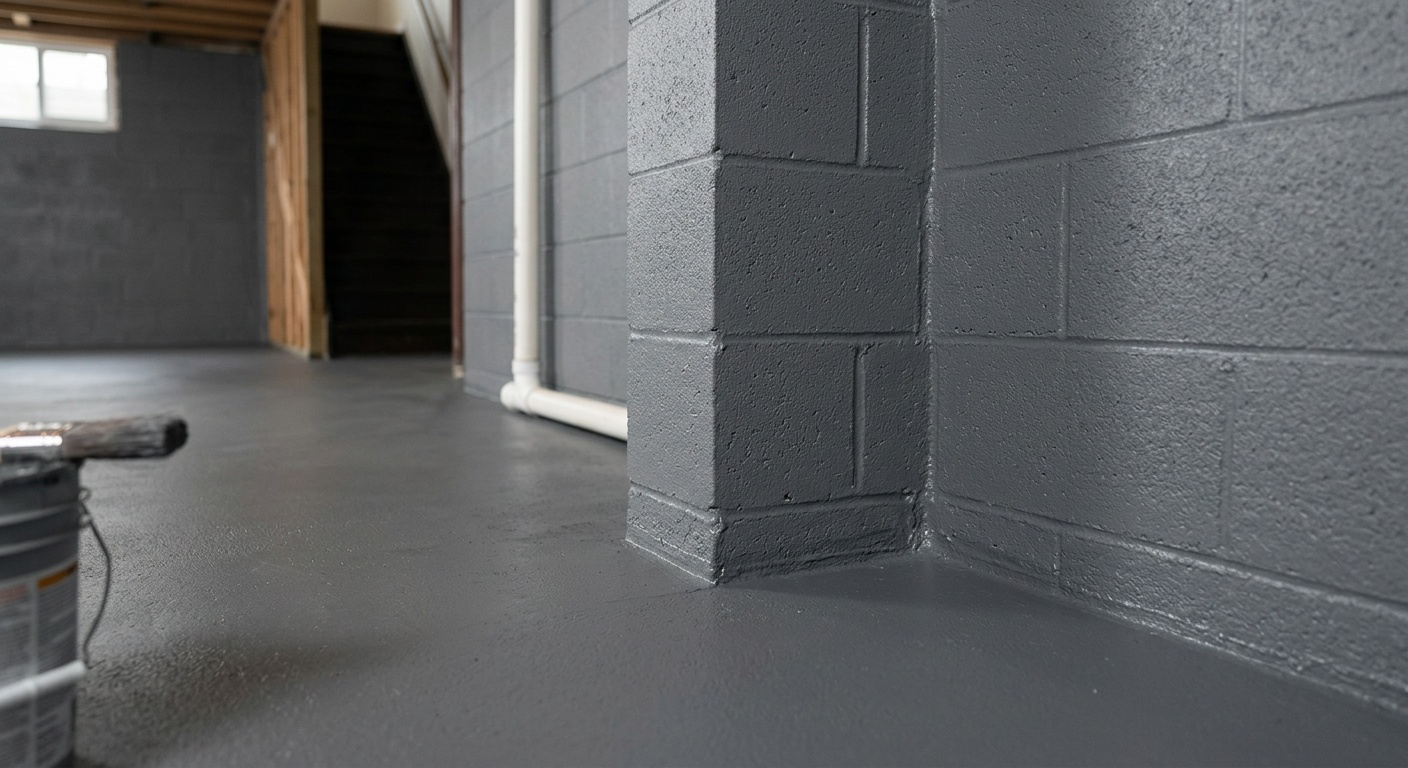
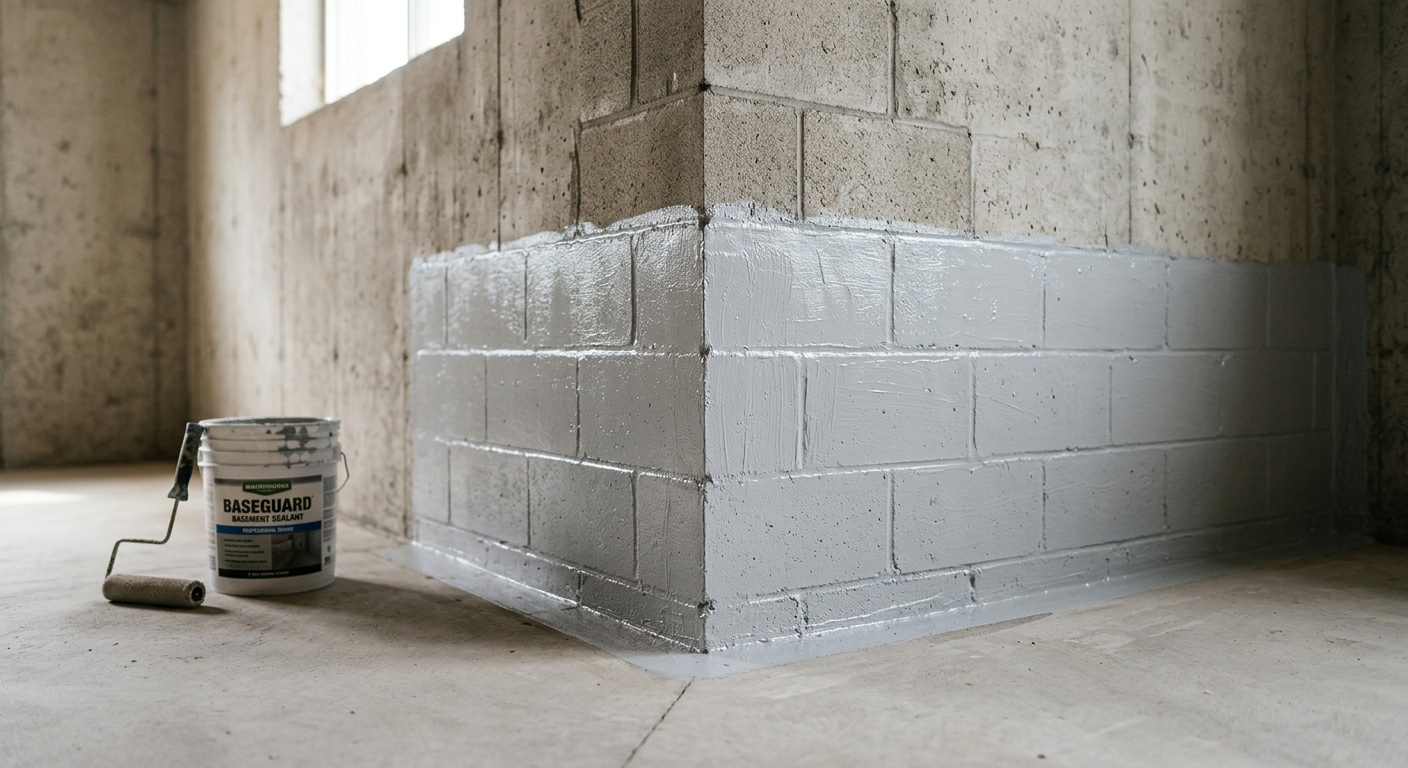
Interior Sealers and Coatings
Interior waterproofing paints and coatings (like hydraulic cement, crystalline sealers, and elastomeric coatings) work by filling pores and minor cracks in concrete. Products like DRYLOK and Xypex Crystalline have strong track records for managing capillary moisture and minor seepage.
What they work well for: Moderate humidity, minor dampness, condensation control
What they don’t fix: Active leaks under hydrostatic pressure, structural cracks, chronic flooding
Pro Tip: Surface prep is everything with interior sealers. Concrete must be clean, free of efflorescence, and slightly damp but not wet. Use a wire brush or pressure washer, allow adequate drying time, and apply multiple coats per manufacturer instructions. Skipping prep is the #1 reason interior sealers fail.
Interior French Drains (Interior Perimeter Drainage)
This is where interior waterproofing gets serious. An interior French drain system involves cutting a channel around the perimeter of your basement floor, laying perforated pipe to collect groundwater, and routing it to a sump pump. Water that seeps through the walls is intercepted before it can pool on your floor.
Take the case of Jennifer and Rodrigo M. from Pittsburgh, Pennsylvania. After two consecutive spring flooding seasons in 2024 and 2025, they invested in an interior perimeter drain system with a dual sump pump setup. Total cost: $7,800 installed. In spring 2026, during record precipitation that flooded neighbors’ basements, their basement stayed completely dry. The system paid for itself in avoided damage and peace of mind.
Key components of an interior drainage system:
- Perimeter channel cut through concrete (typically 8-12 inches wide)
- Gravel bed for drainage
- Perforated PVC pipe (typically 4-inch diameter)
- Sump pit and sump pump
- Vapor barrier along wall base to direct seepage into drain channel
Vapor Barriers and Wall Panels
Dimple mat vapor barriers (polyethylene panels with air-gap channels) create a drainage plane between your foundation wall and finished basement space. Water that seeps through the wall runs down the dimpled surface and into the perimeter drain rather than saturating your walls, insulation, or framing. These are especially effective when combined with an interior drain system.
Exterior Waterproofing Methods
Exterior waterproofing is the gold standard — it addresses the problem at its source by preventing water from ever contacting your foundation walls. It’s also the most labor-intensive and expensive approach, typically requiring excavation around your home’s perimeter.
Exterior Excavation and Membrane Application
The process involves excavating the soil around your foundation down to the footing (often 8-12 feet deep for full basements), cleaning the foundation wall, applying a waterproof membrane or coating, installing drainage board to protect the membrane and direct water to the footing drain, and backfilling with appropriate gravel and soil.
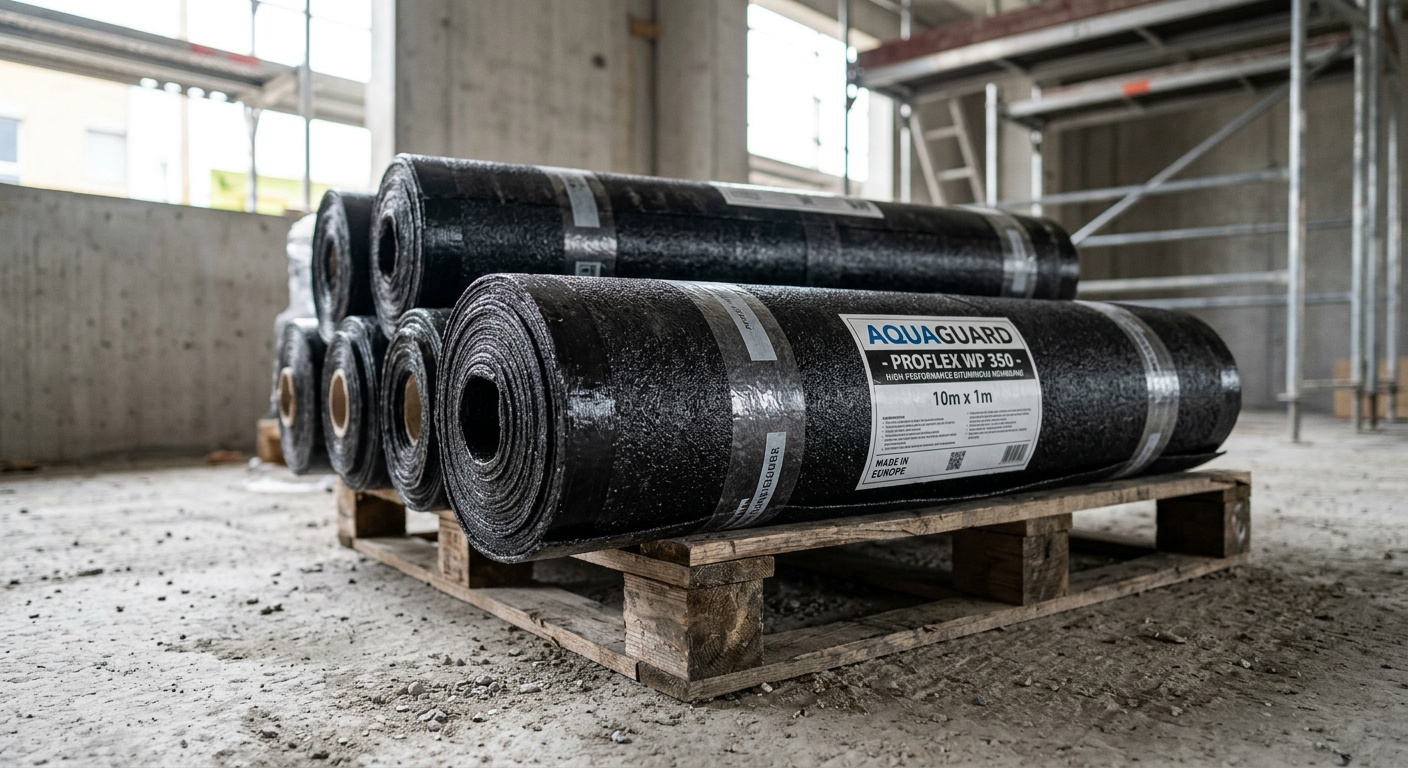
Modern waterproofing membranes include:
- Sheet-applied membranes (rubberized asphalt or HDPE) — highly durable, excellent coverage
- Spray-applied membranes — seamless application, good for irregular surfaces
- Drainage composite boards — protect the membrane and channel water to footings
Exterior French Drains and Footing Drains
At the base of your foundation, a perforated pipe surrounded by gravel collects water at the footing level and drains it away — either to daylight, a storm drain, or a sump pump. When properly installed and maintained, footing drains are extraordinarily effective at reducing hydrostatic pressure.
Important note: Many older homes (pre-1980) have clay tile footing drains that may be cracked, collapsed, or completely clogged after decades of service. If you’re investing in exterior waterproofing, always camera-inspect existing footing drains before assuming they’re functional.
Exterior Grading and Landscaping Corrections
Before committing to expensive excavation, ensure you’ve maximized simpler exterior corrections:
- Regrade soil to slope away at 6 inches per 10 feet minimum
- Extend downspouts 6+ feet from foundation
- Install splash blocks under all downspout terminations
- Replace mulch near foundation with gravel (mulch retains moisture against walls)
- Address any window well drainage issues with covers or added gravel
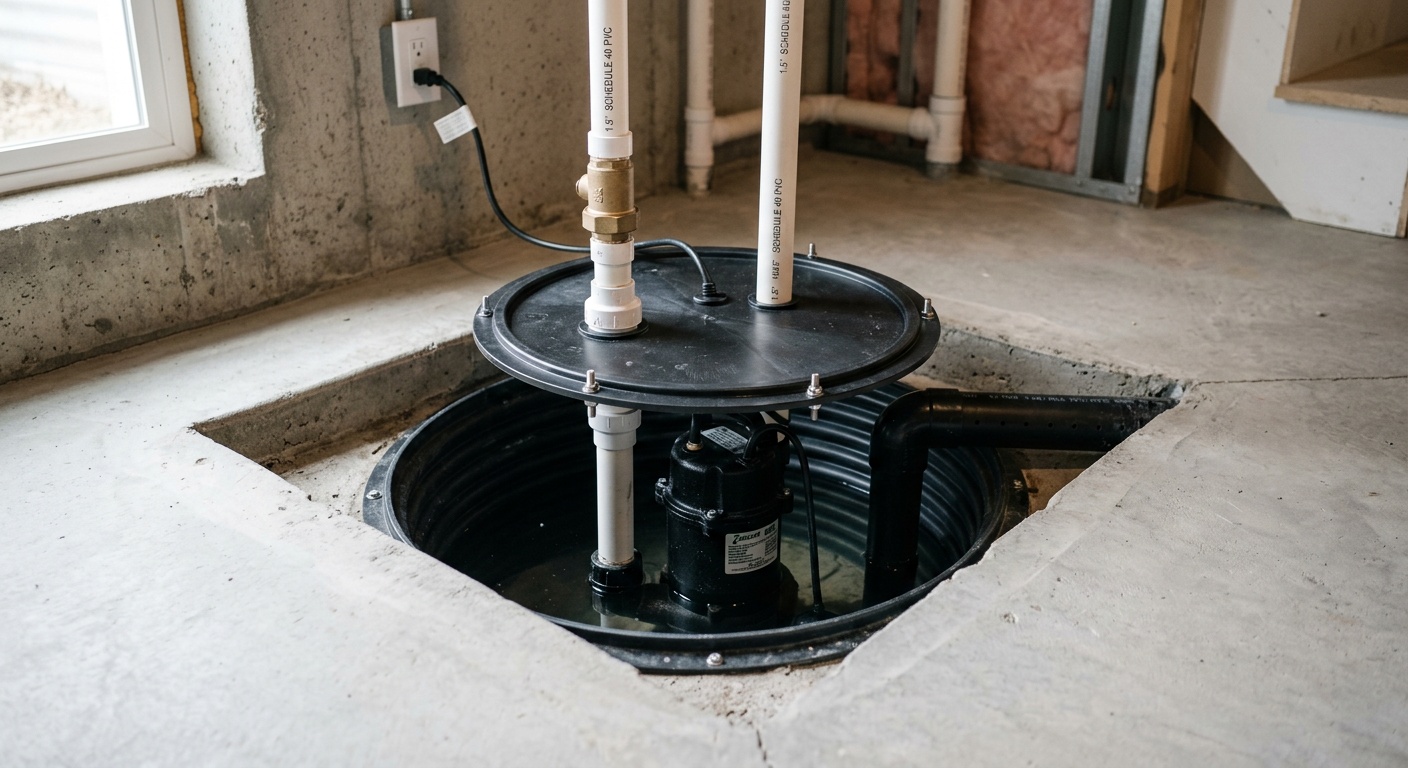
Drainage Systems & Sump Pumps
No basement waterproofing system is complete without a reliable way to remove the water you’ve collected. Your sump pump is the beating heart of your moisture management system — and like any critical system, it needs to be properly sized, properly backed up, and regularly maintained.
Choosing the Right Sump Pump
Sump pumps are rated by horsepower and gallons per hour (GPH) capacity. For most residential applications, a 1/3 HP pump handling 2,000-3,000 GPH is adequate. Homes in high water table areas, larger footprints, or with heavy groundwater intrusion may need 1/2 HP or 3/4 HP units.
Submersible vs. Pedestal pumps:
- Submersible pumps sit inside the sump pit, run quieter, handle debris better, and are generally preferred for finished basements
- Pedestal pumps have the motor above the pit, last longer mechanically, and are easier to service
Battery Backup: Non-Negotiable in 2026
Power outages and heavy storms go hand-in-hand — which means your sump pump is most needed precisely when it’s most likely to lose power. A battery backup system (or water-powered backup) is no longer optional thinking for serious waterproofing. In January 2026, a major ice storm across the Ohio Valley knocked out power to 340,000 homes for up to 72 hours. Homeowners with battery backup sump pumps reported dry basements. Those without faced flooding within hours.
Battery backup options:
- Standard 12V marine battery backup (24-48 hours typical runtime)
- Combination AC/DC pumps with integrated battery
- Smart battery backup systems with WiFi alerts and monitoring (increasingly popular in 2026)
DIY vs. Professional Waterproofing
This is where honesty matters more than optimism. Some waterproofing tasks are genuinely DIY-friendly. Others require professional expertise, specialized equipment, and licensing that simply can’t be replicated with weekend enthusiasm and a YouTube tutorial.
| Task | DIY Feasibility | Avg. DIY Cost | Avg. Pro Cost (2026) | Recommended Approach |
|---|---|---|---|---|
| Interior waterproof sealer/paint | High | $80–$300 | $500–$1,200 | DIY |
| Crack injection (epoxy/polyurethane) | Moderate | $150–$500 | $400–$1,500 | DIY (minor cracks) / Pro (structural) |
| Interior French drain system | Low | $2,000–$5,000 | $5,000–$15,000 | Professional |
| Exterior excavation & membrane | Very Low | $8,000–$20,000+ | $15,000–$50,000+ | Professional |
| Sump pump installation/replacement | Moderate-High | $200–$600 | $500–$1,500 | DIY-friendly with research |
How to Vet a Waterproofing Contractor in 2026
The waterproofing industry has a complicated reputation — high-pressure sales tactics, inflated quotes, and warranty promises that disappear when companies fold. Protect yourself:
- Get a minimum of three written quotes with detailed scope of work
- Verify licensing, bonding, and insurance for your state (requirements vary significantly)
- Check the Better Business Bureau and Google Reviews, filtering for reviews from the past 12 months
- Ask specifically: Who performs the work — employees or subcontractors?
- Understand warranty terms in writing: What’s covered? For how long? Is it transferable to new owners?
- Be wary of contractors who diagnose problems only from inside the basement without exterior inspection
Cost Breakdown & ROI Analysis
Let’s talk numbers — because ultimately, waterproofing is a financial decision as much as a home improvement one.
Basement Waterproofing Cost Comparison (2026 National Averages)
Basement Waterproofing Methods — Cost Range Overview
$80–$300 (DIY)
$400–$1,500
$5,000–$15,000
$500–$1,500
$15,000–$50,000+
The Real ROI Calculation
Beyond the upfront cost, consider the financial upside. According to a 2025 Remodeling Magazine Cost vs. Value report, basement waterproofing delivers an average 30-50% return on investment at resale — and that’s before factoring in avoided damage costs.
The average water damage claim in the U.S. in 2025 was $14,700 (Insurance Information Institute). A single flooding event often costs far more than proactive waterproofing, especially when you factor in mold remediation, which averaged $3,500–$10,000 per incident. Homeowners insurance typically does NOT cover flooding from groundwater or hydrostatic pressure — making prevention even more financially critical.
Frequently Asked Questions
How long does basement waterproofing last?
The lifespan varies significantly by method. Interior sealers may need reapplication every 5-10 years. Interior drainage systems, when properly installed, typically last 20-30 years. Exterior waterproofing membranes, when properly applied to properly prepared surfaces, can last the life of the structure — 50+ years. Sump pumps typically have a service life of 7-12 years and should be tested annually and replaced proactively rather than waiting for failure.
Can I waterproof my basement from the inside only, or do I need exterior work?
For most homeowners dealing with moderate seepage, condensation, or minor infiltration, interior waterproofing methods (sealers, vapor barriers, interior drains) provide effective long-term solutions at manageable costs. Exterior waterproofing is the definitive solution for severe, chronic water intrusion, high hydrostatic pressure conditions, or when interior methods have already been attempted and failed. The right choice depends on the severity of your problem, your soil conditions, and your budget — a qualified waterproofing professional (get multiple opinions) can help you assess this accurately.
Will waterproofing my basement increase my home’s resale value?
Yes, reliably and measurably. Real estate data from 2025 consistently shows that homes with documented, warranted waterproofing systems sell faster and closer to asking price than comparable homes with moisture issues. In competitive markets, a wet basement is one of the most common deal-killers during inspection. A transferable warranty from a reputable waterproofing contractor is a tangible selling point that buyers and their agents understand immediately. Beyond direct ROI, a dry basement enables you to finish or use the space productively — finished basements add an average of $50–$75 per square foot in appraised value in 2026 market conditions.
Your Dry Basement Action Plan: From Assessment to Protection
You’ve made it through the full picture — now let’s translate knowledge into action. Basement waterproofing isn’t a single decision; it’s a strategic sequence of steps, each building on the last. Here’s your concrete roadmap:
- Week 1 — Diagnose Before You Spend: Conduct your full basement assessment using the steps outlined above. Document moisture sources, map cracks, and check exterior grading and gutters. Don’t spend a dollar until you know exactly what you’re dealing with.
- Week 2 — Address the Free Fixes First: Regrade soil if needed, extend downspouts, clean gutters, and seal obvious exterior entry points. A surprising number of basement moisture problems are dramatically reduced by these simple, low-cost exterior corrections.
- Week 3-4 — Match Solutions to Problems: Based on your assessment, determine whether interior sealing, crack injection, interior drainage, or exterior waterproofing is appropriate. For anything beyond basic sealers, obtain three contractor quotes with written scopes.
- Month 2 — Implement and Protect: Execute your chosen solution and install or upgrade your sump pump with battery backup. Set up a maintenance calendar: annual sump pump testing, gutter cleaning each spring and fall, and foundation crack monitoring every year.
- Ongoing — Monitor and Adapt: Basement waterproofing isn’t set-and-forget. Climate conditions continue to shift, soil settles, and drainage systems age. A brief annual walkthrough during or after heavy rain is all it takes to catch emerging issues before they escalate.
As precipitation patterns continue to intensify through the late 2020s, the homes that hold their value — and their livability — will be those where owners made proactive decisions rather than reactive ones. Basement waterproofing sits squarely at the intersection of structural health, financial protection, and quality of life.
Here’s the question worth sitting with: What is the cost of inaction? Not just in dollars — but in stress, in health risks from mold exposure, in the creeping anxiety every time storm clouds roll in. Your basement deserves better than crossed fingers and a shop vac on standby. What’s the first step you’re taking this week?